Getting started
Set up your first bot
A calm path from an empty workspace to an assistant you have actually tested. The goal is not a greeting on a website. It is a student who can get a useful answer, and a person when the answer needs one.
- Where to go
- Bot Configuration → Interactions
- Who can do this
- Ask an organization admin to provision new bots; check plan capacity first
Prepare what you will need
- A clear scope: one institute, campus, family of programmes, or admissions audience. A bot that tries to speak for everything usually speaks clearly for nothing.
- Approved, current facts: courses, fees, eligibility, intakes, applications, scholarships, and who to contact. If you would not say it to a student yourself, do not give it to the bot.
- A support address someone actually reads, and a person who will join chats and follow up.
- Someone who can place the widget on the website and confirm the published script address.
- An active trial or subscription with room for the bot and its sources.
Create the bot
- 1
Open Interactions
Expand Bot Configuration and select Interactions. This is the assistant’s introduction: who it is, and how a student can reach a person.
- 2
Choose Create Bot
If you are editing an assistant that already exists, open its card and read the name first. It is easy to rewrite the wrong one.
- 3
Complete the form
Set the name, institute, tone, first message, and a short description of who you help. Then add support details and only the contact fields your team will actually use.
- 4
Save Configuration
Wait for success. Creating the bot also prepares its model settings. If saving fails, check your role, the plan’s remaining capacity, and whether the service is available before you try again.
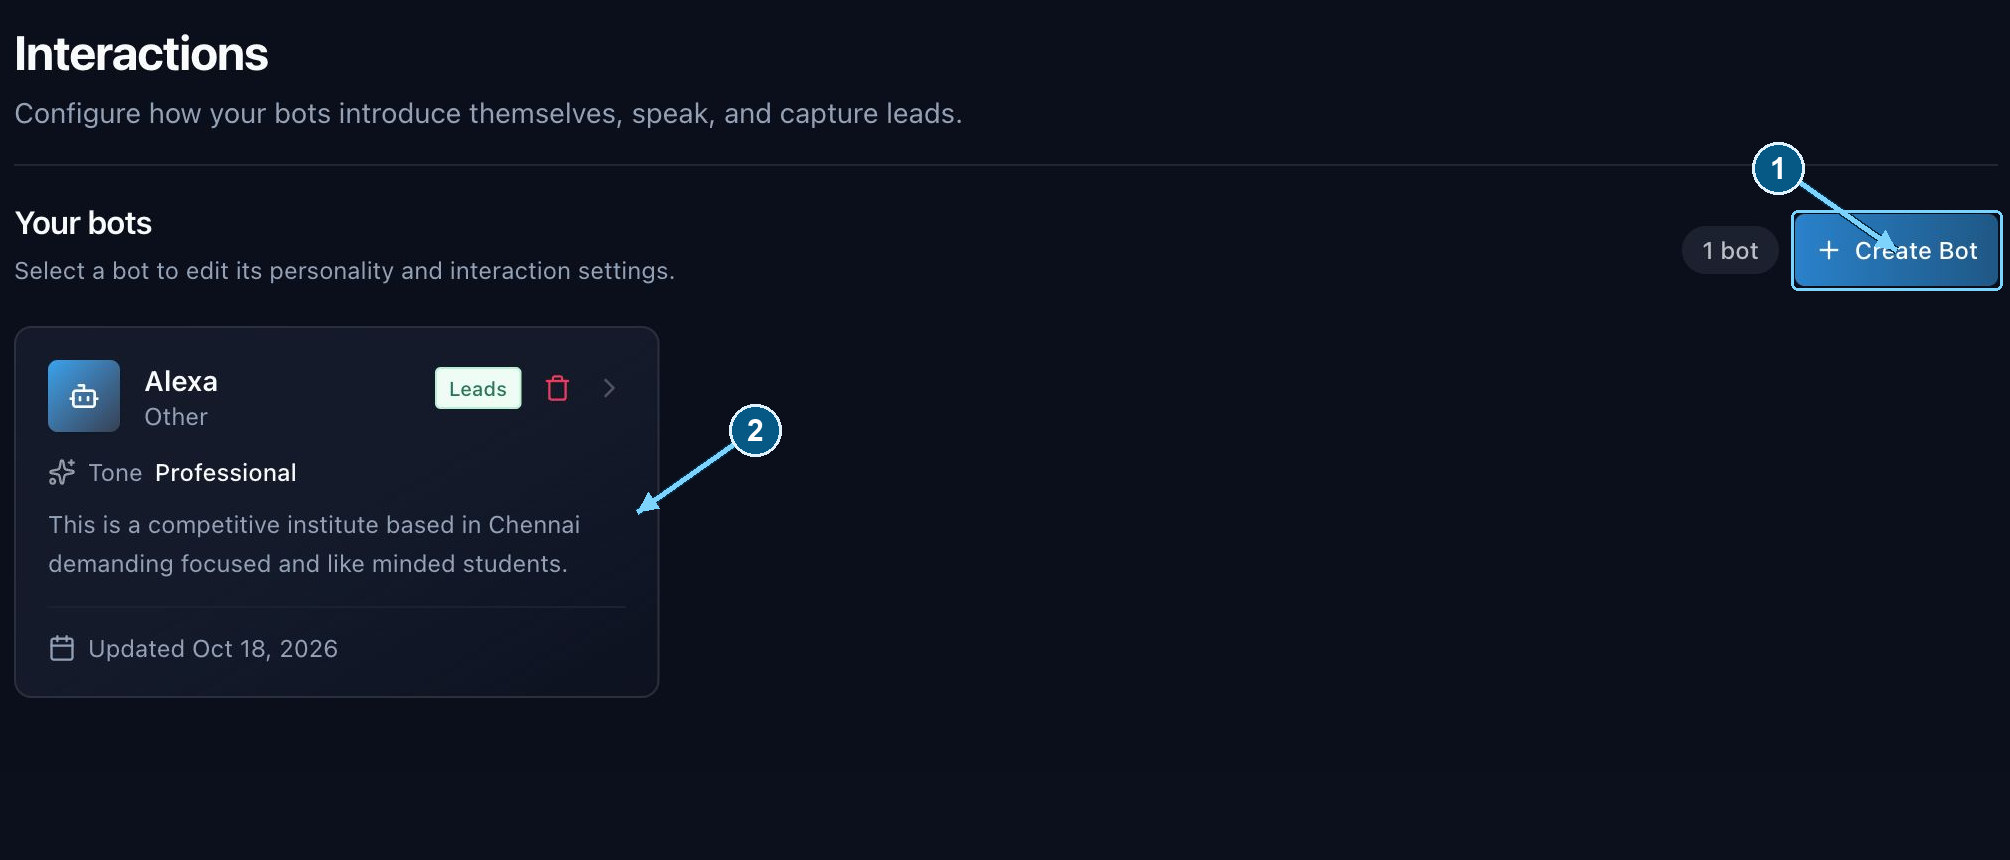
Create Bot starts a new assistant; a bot card opens the existing assistant’s settings.
Enlarge- Create a new bot
- Select a bot to edit
Give it knowledge before testing
Go to Training Data, select this bot, and add a small set of sources you trust. Read the submission terms yourself — you are confirming you have the right to use that material — then train and wait until each required source says Trained.
The business description tells the assistant its purpose. Fees, policies, and programme facts belong in sources. A friendly name does not teach those facts, and a confident tone should never cover for a missing one.
Test the complete visitor journey
- 1
Ask the questions students actually ask
Compare programme names, fees with currency, eligibility, dates, and application steps with the approved source. A pleasant answer that is slightly wrong is still the wrong answer.
- 2
Ask something you have not taught
The assistant should say it does not have that information. It should not promise an admission, a scholarship, or a place.
- 3
Test contact capture
Check the timing and the fields, then look in Leads. The point of asking is a follow-up your team can keep, with the student’s knowledge.
- 4
Ask to speak with a person
Have a teammate watch notifications and Conversations. A student who asks for help should not be left in a loop.
- 5
Try it on the real website
Check the widget, a phone screen, the support email, the help link, and an attachment. The test chat is the experience a visitor will trust.